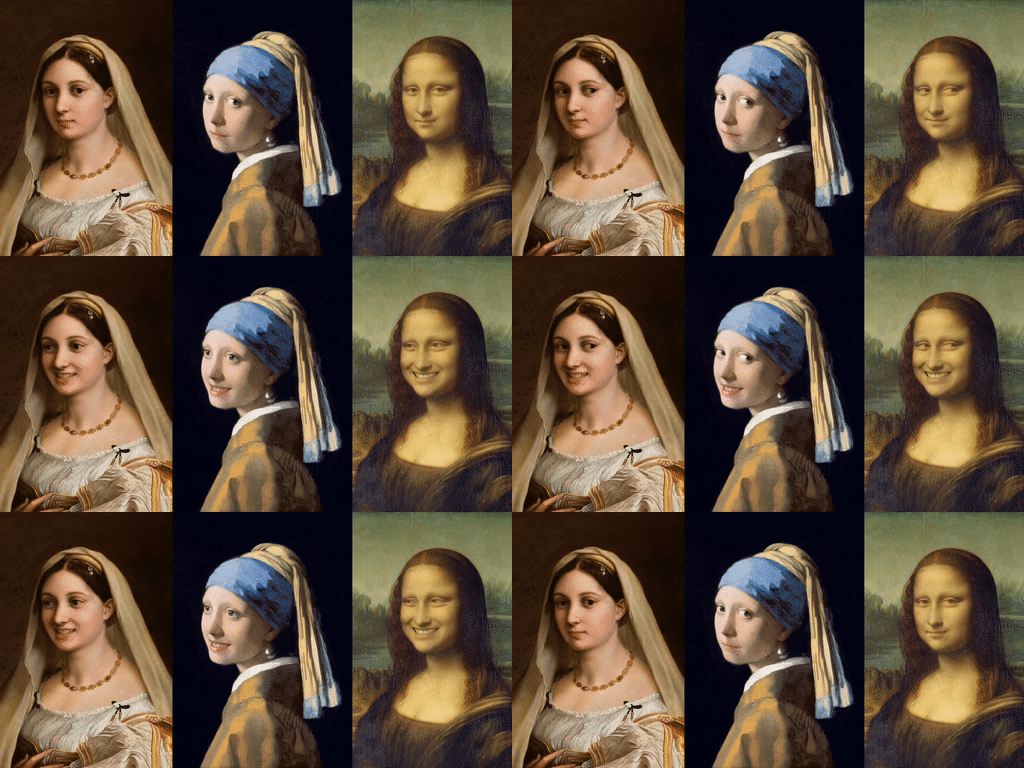
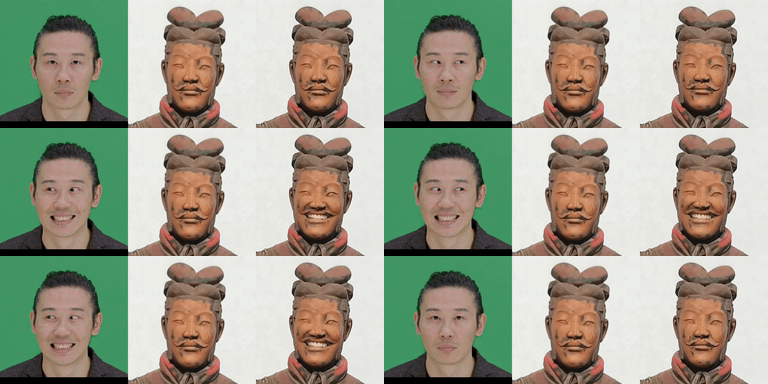
# LivePortrait: ステッチングとリターゲティング制御による効率的なポートレートアニメーション
1 Kuaishou Technology 2 中国科学技術大学 3 復旦大学

🔥 より多くの結果については、ホームページをご覧ください 🔥
## 🔥 更新情報
- **`2024/07/04`**: 🔥 推論コードとモデルの初期バージョンをリリースしました。継続的に更新しているので、ご期待ください!
- **`2024/07/04`**: 😊 [ホームページ](https://liveportrait.github.io) と [arXiv](https://arxiv.org/pdf/2407.03168) での技術レポートをリリースしました。
## はじめに
**LivePortrait** と呼ばれるこのリポジトリには、論文 [LivePortrait: Efficient Portrait Animation with Stitching and Retargeting Control](https://arxiv.org/pdf/2407.03168) の公式 PyTorch 実装が含まれています。
このリポジトリは積極的に更新および改善されています。バグを発見した場合や提案がある場合は、問題を提起するか、プルリクエスト(PR)を送信してください💖。
## 🔥 はじめに
### 1. コードのクローンを作成し、環境を準備する
```bash
git clone https://github.com/KwaiVGI/LivePortrait
cd LivePortrait
# conda を使用して環境を作成する
conda create -n LivePortrait python==3.9.18
conda activate LivePortrait
# pip で依存関係をインストールする
pip install -r requirements.txt
```
### 2. 学習済み重みをダウンロードする
学習済みの LivePortrait 重みと InsightFace の顔検出モデルは、[Google Drive](https://drive.google.com/drive/folders/1UtKgzKjFAOmZkhNK-OYT0caJ_w2XAnib) または [Baidu Yun](https://pan.baidu.com/s/1MGctWmNla_vZxDbEp2Dtzw?pwd=z5cn) からダウンロードしてください。すべての重みを1つのディレクトリにまとめています😊。解凍して `./pretrained_weights` に配置し、ディレクトリ構造が以下のようになるようにしてください。
```text
pretrained_weights
├── insightface
│ └── models
│ └── buffalo_l
│ ├── 2d106det.onnx
│ └── det_10g.onnx
└── liveportrait
├── base_models
│ ├── appearance_feature_extractor.pth
│ ├── motion_extractor.pth
│ ├── spade_generator.pth
│ └── warping_module.pth
├── landmark.onnx
└── retargeting_models
└── stitching_retargeting_module.pth
```
### 3. 推論 🚀
```bash
python inference.py
```
スクリプトが正常に実行されると、`animations/s6--d0_concat.mp4` という名前の出力 mp4 ファイルが生成されます。このファイルには、駆動ビデオ、入力画像、生成された結果が含まれています。

または、`-s` および `-d` 引数を指定して入力を変更することもできます。
```bash
python inference.py -s assets/examples/source/s9.jpg -d assets/examples/driving/d0.mp4
# または、貼り付けを無効にする
python inference.py -s assets/examples/source/s9.jpg -d assets/examples/driving/d0.mp4 --no_flag_pasteback
# 詳細なオプションを表示する
python inference.py -h
```
**より興味深い結果は、[ホームページ](https://liveportrait.github.io)** 😊 にあります。
### 4. Gradio インターフェース
より良い体験のために、Gradio インターフェースも提供しています。
```bash
python app.py
```
### 5. 推論速度の評価 🚀🚀🚀
各モジュールの推論速度を評価するためのスクリプトも提供しています。
```bash
python speed.py
```
以下は、`torch.compile` を使用したネイティブ PyTorch フレームワークを使用して RTX 4090 GPU で 1 フレームを推論した結果です。
| モデル | パラメータ数(M) | モデルサイズ(MB) | 推論時間(ms) |
|-----------------------------------|:-------------:|:--------------:|:-------------:|
| Appearance Feature Extractor | 0.84 | 3.3 | 0.82 |
| Motion Extractor | 28.12 | 108 | 0.84 |
| Spade Generator | 55.37 | 212 | 7.59 |
| Warping Module | 45.53 | 174 | 5.21 |
| Stitching and Retargeting Modules| 0.23 | 2.3 | 0.31 |
*注: Stitching and Retargeting Modules の値は、3 つの MLP ネットワークのパラメータ数と合計推論時間の合計を表しています。*
## Docker Composeを使用した起動
LivePortraitアプリケーションをDocker Composeで簡単に起動することもできます。リポジトリにはすでに`docker-compose.yml`ファイルが含まれています。以下の手順に従ってください:
1. プロジェクトのルートディレクトリに移動していることを確認します。
2. Docker Composeを使用してアプリケーションを起動します:
```bash
docker-compose up
```
これにより、LivePortraitアプリケーションがDockerコンテナ内で起動し、ポート8890でアクセス可能になります。
> [!NOTE]
> この設定はNVIDIA GPUを使用するように構成されています。GPUが利用できない場合は、`docker-compose.yml`ファイルの`deploy`セクションを適宜調整してください。
アプリケーションが起動したら、ウェブブラウザで`http://localhost:8890`にアクセスしてGradioインターフェースを使用できます。
## 謝辞
オープンな研究と貢献に対して、[FOMM](https://github.com/AliaksandrSiarohin/first-order-model)、[Open Facevid2vid](https://github.com/zhanglonghao1992/One-Shot_Free-View_Neural_Talking_Head_Synthesis)、[SPADE](https://github.com/NVlabs/SPADE)、[InsightFace](https://github.com/deepinsight/insightface) リポジトリの貢献者に感謝します。
## 引用 💖
LivePortrait があなたの研究に役立った場合は、このリポジトリを🌟し、以下の BibTeX を使用して私たちの仕事を引用してください。
```bibtex
@article{guo2024live,
title = {LivePortrait: Efficient Portrait Animation with Stitching and Retargeting Control},
author = {Jianzhu Guo and Dingyun Zhang and Xiaoqiang Liu and Zhizhou Zhong and Yuan Zhang and Pengfei Wan and Di Zhang},
year = {2024},
journal = {arXiv preprint:2407.03168},
}
```


